
We love good bread. But in many parts of the world, good bread is hard to find. My lack of talent and commitment in the baking skillset made fresh home-bread seem an unrealistic hurdle overlanding. But then I got some sourdough starter. Sourdough, it turns out, isn’t only for bread! Who knew, eh? There’s a whole easy-peasy world of other yummy overlanding sourdough stuff out there. But first you’ve got to feed it and grow it!
With limited equipment and constantly changing environments, overlanding sourdough can be a bit ‘trial and error’. I can’t claim to offer real expertise. But in the hope of encouraging other clueless non-baker overlanders (like me) to give it a go, I’ll offer a few pointers on what I’ve learned so far:
- getting and feeding a sourdough starter;
- using sourdough starter and how long does it last?;
- my favourite overlanding sourdough recipes,
- overlanding sourdough baking methods and overlanding sourdough equipment.
I’ve also thrown-in a few links to my favourite inter-web sources of information from folks who, unlike me, really know their stuff.
1. Overlanding Sourdough – The Basics
Here I give you my numpty-level, basic knowledge of overlanding sourdough:
a) Getting your Sourdough Starter
Sourdough starter is just flour and water that has been fermented to form a culture. How hard can that be, eh? Well it seems it’s harder than you might think to make it yourself. It is possible. But from my on-line research it seems to be a long, random, potentially hit-and-miss operation. It can take weeks (or longer) to get it to a stage that’s ready to use. It all looked a bit of a faff to me, so I gave that a miss. If you want to try it, Google to see how a few experts do it, and let me know how you get on!
It’s also possible to buy dried, powder-form sourdough starter which can be rehydrated to become active starter. I did try this, but failed miserably and never managed to work out why. If you can get some dried, then give it a go… maybe you’ll have more luck than me!
The only option I can personally recommend is starting with a ready-made sourdough starter, taking advantage of someone else’s skill, patience and hard work. I believe it can be ordered on-line or maybe bought from a good local artisan baker (Google around to find sources near you), but I picked mine up from another overlander. Once you’ve got a bit of it, you’re off!! You can ‘feed’ it and grow more whenever you need it!
b) Feeding your Sourdough Starter
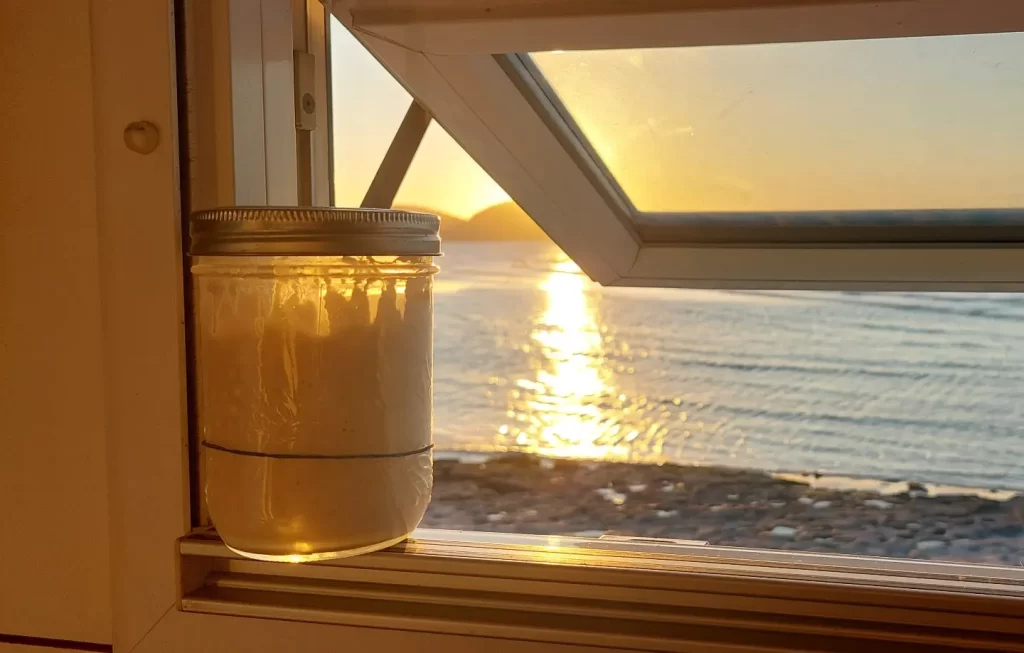
When you feed your sourdough starter, it becomes ‘active’ for baking bread, and grows to create more starter to use going forwards. As your starter grows, you’ll find it kind of takes on a life-of-its-own – a bit like a little creepy alien… it expands up (and if you don’t get it right, over the top of) the jar. Some people even give their sourdough starter a name! You need to feed it enough flour and water, so that it grows to whatever volume of starter you need for your recipe.
Feeding has just three steps. Let’s say you’ve acquired 50g of sourdough starter in a jar:
- add the same volume (in this case 50g) of plain white flour and the same volume (i.e. 50g) of water – this gives a total 150g of mixture in the jar;
- mix as thoroughly by hand (it doesn’t matter if there are a few small lumps left in the mixture, but get it as smooth as you can);
- cover the jar loosely (i.e. screw-on the jar lid a thread or two, but don’t tighten it up, it must have an air-gap to breath and if necessary, expand out of) and leave it at room temperature for a few hours.
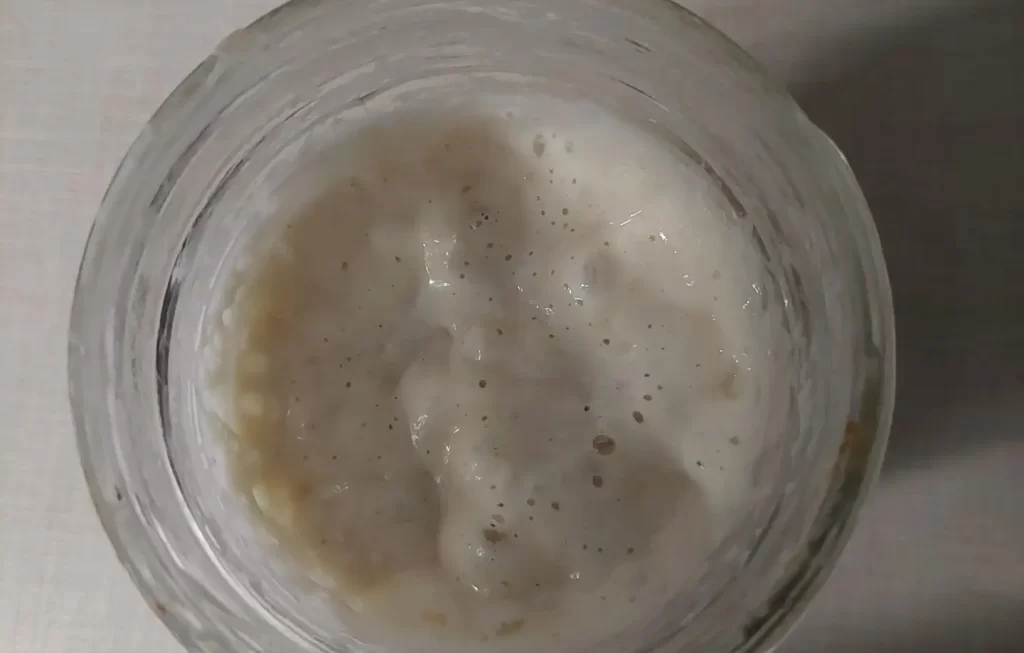
The mixture will become ‘active’ – bubbling-up and growing significantly in volume. You can check back on it occasionally and have a smug sense of satisfaction as it creeps up the side of the jar! Not long after it has reached its peak, it will gradually recede back down to approximately where it started;
Top Tips for feeding sourdough starter:
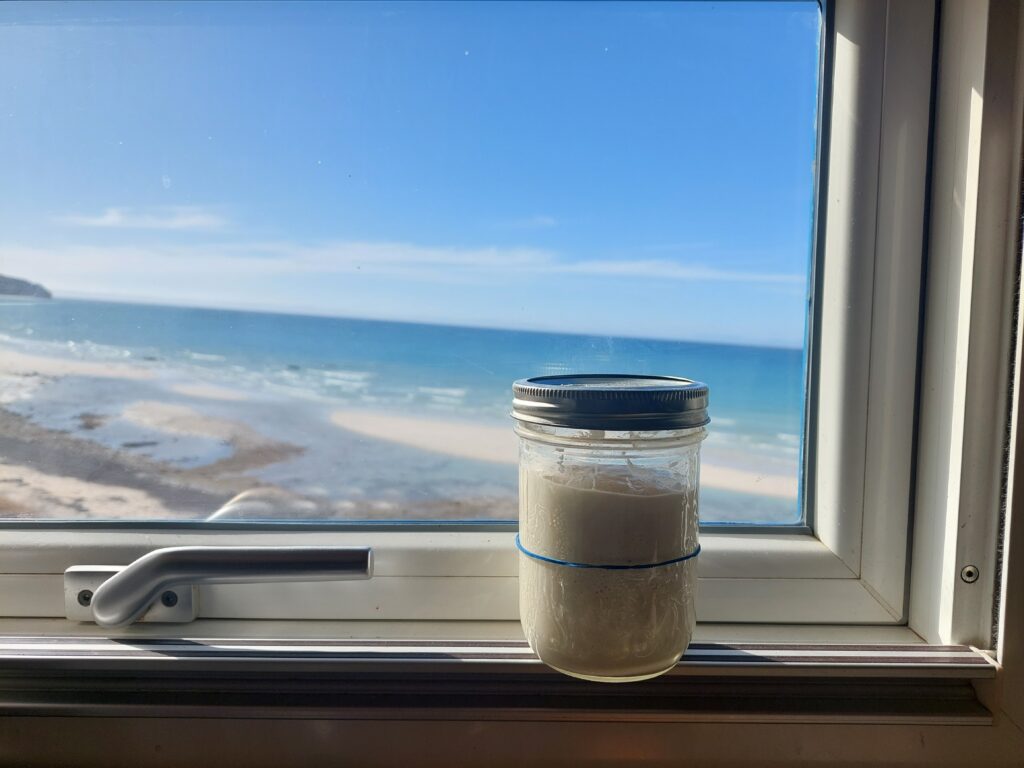
- It’s interesting to put an elastic band around the jar at the level where it starts, so you can see how far it rises above that line;
- Repeat the feeding process as often as necessary to get the volume of starter you need for your recipe (e.g. if the 150g made above isn’t enough, repeat the process. If you start the process again with the full 150g that you have just made, add 150g of flour and 150g of water, this will give you 450g of starter);
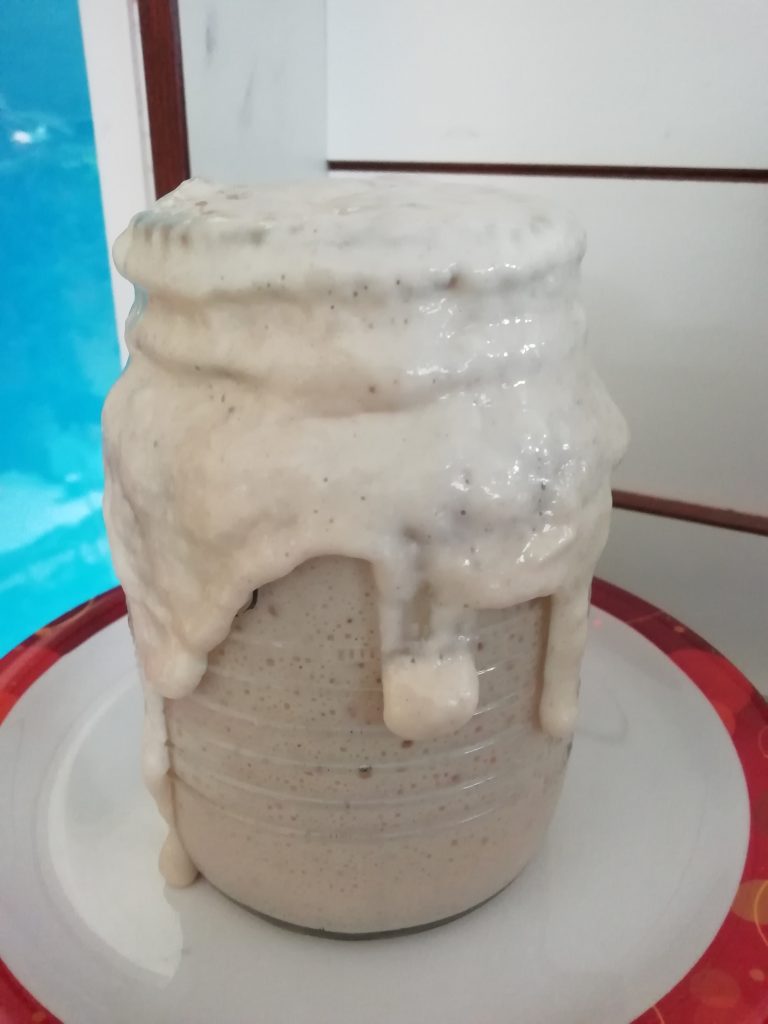
- Don’t try to grow too much for the jar! Use a jar with plenty of room for your volume of starter to grow without spilling over the top. As it grows, the starter will probably at least double (maybe even triple) in size. If you get it wrong and the starter overflows the top of the jar, you will probably only make this mistake once. It is a horrible, sticky mess requiring a lot of water to clean up! This is a particular nightmare when overlanding and water is often limited. If the starter looks like it’s starting to reach the top of your jar and might overflow, you can try tapping the jar firmly on the work-top – sometimes this tapping shakes the air upwards, out the top of the mixture and the starter immediately drops down a few centimeters (I’m not sure why it doesn’t always work, but it’s worth a try to prevent it from going over the top;
- Once it has risen up, the starter can then be used as either ‘active’ or ‘discard’ but remember not to use it all – you need to keep back enough to grow more. I have read that the minimum amount required to successfully grow more starter is around 30g. Less than that is apparently less likely to give good results. For a safety margin, I don’t let mine get below 60g.
- The equal 1:1 ratio of flour/water mix (as described above) is known in fancy circles as a ‘100% starter‘. Apparently, folks who know their stuff play around with the ratio of flour/water for different specialist baking purposes. If you’re a simple soul like me, you’ll stick to the 100% thing.
- I use plain white flour (unbleached, organic if I can get it). I have read that it’s possible to play around with different types of flours – wholewheat, rye etc. But I haven’t had great results with other flours. So I generally stick with white flour for the sourdough starter and just sometimes substitute a small amount of rye or wholewheat in the final recipe.
- Room temperature tap water is fine. If you’re lucky enough to be travelling with a fridge in your rig and the starter is chilled, it might take a bit longer to get-going when you feed it. You can ‘kickstart’ the action by either using slightly tepid water, or putting the jar in the sun for a little while, for a bit of gentle warmth;
- If you’re not travelling with a fridge, keeping the jar in your rig should be fine in most climates. When overlanding it’s difficult to have consistent temperatures, but I have found the sourdough starter culture to be very tolerant of a wide range of temperature environments. One overlander told me they ‘killed’ theirs by accidentally freezing it, but in temperatures other than extreme heat or cold, it will probably survive just fine. If it seems to be ‘dead’, see below at ‘How long does sourdough starter last?‘ for how you might be able to bring it back to life.
- I have found the process of growing works perfectly well even when driving. Obviously the jar needs to stay upright and not spill, but the growing process doesn’t seem to be bothered by overlanding, bouncing around on a bumpy road.
2. Using Sourdough Starter
a) Active Sourdough Starter
When the starter is bubbled-up and at maximum volume, it is ‘active‘. At this point it is ready to use for recipes that need peak ‘activity’ e.g. baking bread or making crumpets. A test I found on the inter-web to see if your starter is sufficiently ‘active’ and ready to use: drop a blob of the starter into a glass of water. If it floats, it’s ready. If it sinks, it needs either more time to activate, or another feed to get it really active and bubbling .
Note that it doesn’t stay at this peak activity for long before it shrinks back down. If your recipe calls for ‘active’ starter, you need to be ready to use it fairly quickly once it peaks. Once it shrinks back down, it becomes ‘discard’.
Baking a loaf is the main reason many people do sourdough. But whichever way you look at it, baking a loaf of sourdough bread takes a bit of time-flexibility. You have to use the starter when it is ‘active’ at its peak growth, but I find it difficult to predict exactly when this will happen. There are so many variables in the growth profile, so you need to get to know your sourdough. Mine might reach peak growth after anything from 3 to 8 hours of festering. Frankly, I can’t often be bothered to let the rise of a sourdough starter dictate my day. For me, the beauty of sourdough starter is the ‘discard’ state – it’s much more flexible.
b) Discard Sourdough Starter
When the starter is not bubbled-up, i.e. before or after feeding when the bubbling-up has receded back down it’s called ‘discard’. If baking bread is your focus, the starter is no longer good for its purpose and can be discarded. But here’s the big thing… don’t discard it! Discard sourdough starter is hugely useful for making lots of great things (see below).
I feed and grow my starter regularly as described above, then store it in my ‘discard jar’ and it’s ready for use anytime, in a whole range of sourdough discard recipes.
Whether you use it active or discard – remember to never use it all!! Keep some back to feed and grow your next batch!
c) Measuring Sourdough Starter
I know some sourdough-ing overlanders who never measure accurately – whether for the feeding the starter or in recipes. Taking a cavalier, devil-may-care attitude, they just chuck-in an approximate amount and hope for the best. What is this? Sourdough Russian Roulette? Measuring may or may not be necessary, but with my OCD-tendency, I like a slightly more consistent approach. Measuring makes me feel like I know what I’m doing. Of course, I don’t… but it makes me feel like I do. And I hope it provides for a more consistent outcome. You can try the chuck-in approach if you like living dangerously 😉.
Sourdough recipes sometimes call for grams/ounces of sourdough starter, but others call for ‘cups’. One cup is said to be around 240-250g, but this is an inaccurate way to measure (see… that’s my OCD thing again). Imagine the amount of discard sourdough starter (flat, unaerated) that fits into a level cup. Then consider the amount of (fluffy, aerated) active sourdough that fits into a level cup. There is a huge discrepancy between the weights of these cups. The cup of ‘active’ starter is half full of air! I therefore prefer to use weights, rather than cups.
d) How long does sourdough starter last?
Sourdough starter is pretty robust stuff. You’ll have to try hard, like really hard, to kill it off. Once it’s in the discard state, it keeps easily for at least several weeks in a fridge. I’ve read on-line you can keep it for several months if you really want to. My guess is that if you don’t have a fridge, you’re overlanding in very hot or cold places and store it for a long time, it might be affected by extreme temperatures. But you can still probably revive it when you’re ready to use it again.
Ideally to maintain a regular supply, you’ll feed and grow your starter every week or so (more often if you use lots of it). The more regularly its fed, the quicker and more predictably it bubbles up. If you forget about it and it’s left for a few weeks, the first feed might not produce much, if any, growth. But fear not… you’re unlikely to be guilty of sourdough-homicide. Just feed it again. And if necessary, again. I’ve occasionally had to do mine three times to get it active again, but I’ve read on the inter-web of people doing it 4 or 5 times to bring it back to life after months of inactivity.
Sometimes it might look a bit ‘funny’: a watery liquid separates onto the top, or maybe the top goes a bit ‘white-fungussy-mouldy’ looking. Or it might start smelling a bit stronger or more ‘tangy’. It’s almost certainly not fungus or mould… really… it’s just the culture doing it’s thing. Just give it a mix, feed it once or twice as above, and use again as normal.
e) Sourdough Recipes
– Active Sourdough Starter Recipes
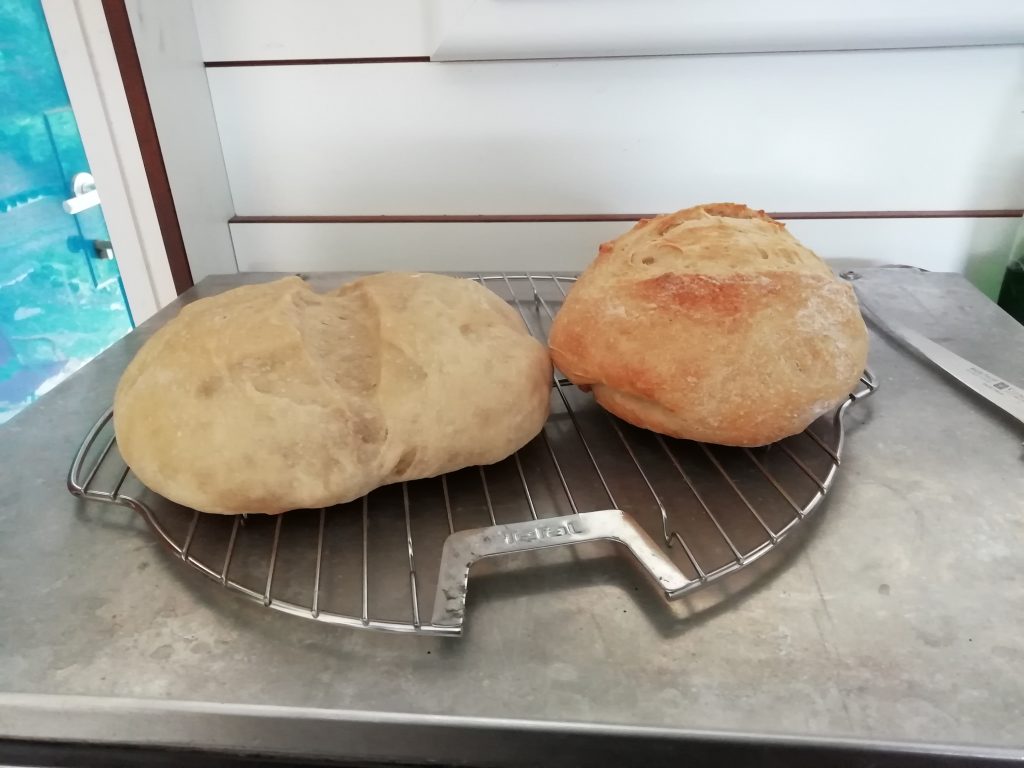
Mostly, I don’t do much with active sourdough, I prefer the options for discard. However, if you want general info on sourdough and baking a loaf of bread with an active starter, you will struggle to find a better source than The Clever Carrot – she really knows her stuff. Click the link here for my overlanding version of simple sourdough loaf of bread recipe.
One recipe I reckon is worth the hassle occasionally with active sourdough is crumpets – yes British overlanders, if you’re missing them from home, you can make real crumpets on the road, in a frying pan! I like John Kirkwood’s YouTube video. He’s a retired professional baker and uses a few fancy words that confused me a little bit to start with, but following his instructions, my resulting crumpets were great. Ideally you do need a couple of extra bits of equipment for these:
i) some crumpet rings to hold the mixture in the pan (these are pretty essential as the mixture doesn’t hold in shape until cooked and it will just run-flat in the pan without the rings); and
ii) a pan temperature probe (this is much less essential, but I did find the results better when I checked the pan was at the right temperature using the thermocouple probe on Marcus’ multi-meter 😂).
– Sourdough Starter Discard Recipes
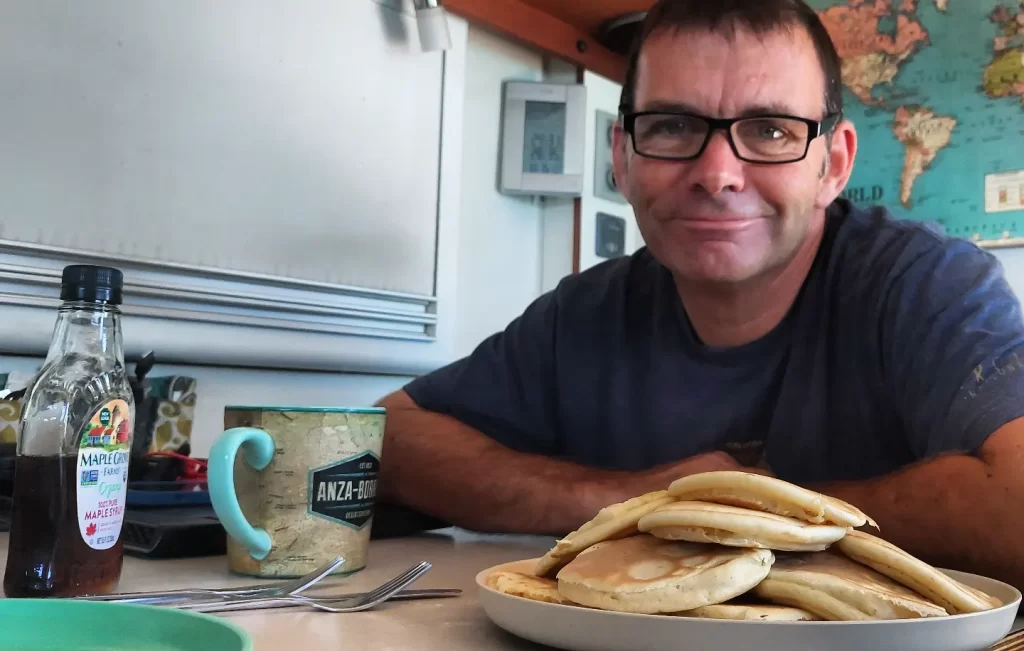
With discard starter, my absolute fave thing is super-quick, fresh, fluffy flatbreads – ready in around 10 mins from scratch. Also great discard recipes that I use regularly are crepes, tortillas, pancakes and scones (click here for the Sourdough Discard Recipes page). If you Google ‘sourdough discard recipes‘ you’ll find lots more things out there to try.
– Innovating
if you want to make a sourdough version of a recipe that contains flour and liquid, you can often simply substitute the sourdough starter for the flour and liquid in the recipe. Remember, the sourdough starter is essentially just equal amounts of flour and water. So in theory, if a recipe calls for say, 50g of flour and 50g liquid, you could omit both of these and replace it with 100g of sourdough starter.
Importantly though, there are two things to note with this:
- the more starter you substitute, the stronger the sourdough taste will be. If you want to reduce the ‘tang’ a bit, you could substitute just some of the recipe’s flour/liquid with sourdough starter, and stick with the ordinary flour/liquid for the rest.
- The sourdough starter will make your mixture stickier than the original recipe and will probably make dough more difficult to handle. Again, a full substitution of all the flour/liquid is likely to be too much; substituting a smaller portion of the flour/liquid could produce better results. You need a bit of trial and error here with your favourite recipes to see what works for you.
3. Overlanding Sourdough Baking Methods
Oven or Stove-top Pan – We’re lucky enough to have a gas/propane oven in our overlanding rig. So if I feel the rare urge to have a clumsy go at baking, I can. Although I can rarely be bothered to do a proper loaf, I do occasionally have a stab at baking scones in the oven – they come out quite well. My preference by far is to do sourdough things in a pan on the stove-top – flatbreads, pancakes etc. If you don’t have an oven and want to bake sourdough bread, my overlanding friends have had fine results with a stove-top Omnia oven.
Open Fire Baking – If you like baking over an open fire, with a bit of Googling and practice you can bake in a cast-iron Dutch oven. We used to do this in Africa. The trick is to get the coals evenly hot. Then have coals not only under the Dutch oven, but turn the lid up-side down so that you can place some coals on top for even heat distribution. My Top Tip for open-fire baking: invest in a pair of welding gloves. On the plus side, these will save you much pain. On the downside, they will deprive your companions of the entertainment value – seeing you leap around the camp-fire swearing loudly.
4. Overlanding Sourdough Equipment
All overlanders have very limited space and capacity to carry any bulky or heavy equipment – obvs! I try to ensure almost every piece of kitchen equipment is multi-purpose, or at least used for an every-day task. Nothing sits around unused for long – if it does… I get rid of it! Here’s a few items that are small/light and I find invaluable for this sourdough malarkey:
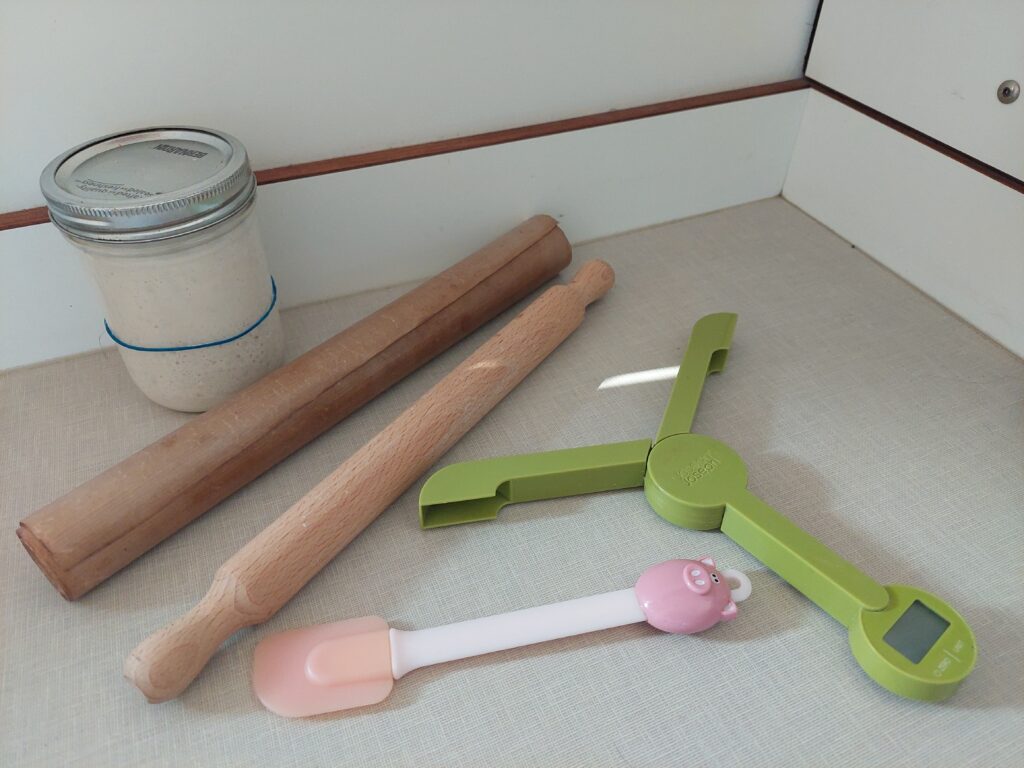
Mixing
I find a silicone mini-spatula essential for mixing the starter and scooping it out of the jar. Using a spoon just doesn’t reach into the curves of the jar and the flour/water don’t get properly mixed for successful feeding of the starter.
Rolling out
No space for a ‘normal’ big rolling-pin. But I do the flatbreads and tortillas often, so some kind of rolling-out equipment is essential for me. I used to use a wine bottle (always got one of those lying around). This worked at a pinch, but it’s a bit big and clumsy for small quantities. In a fancy kitchen store in Canada I found a mini-size rolling-pin used by pastry chefs to make petite-fours. It’s much easier to use and a perfect overlanding size.
Baking sheet
I carry a thin piece of multi-use baking sheet cut-down to fit my oven shelf. It weighs nothing and rolls-up neatly. Even if you don’t have an oven and do all your sourdough stuff on the stove-top, this sheet is still useful. Use it as a good non-stick surface for rolling-out dough (stops the dough sticking to my camper work-top).
Weighing
I find this foldable Joseph Joseph scales is perfect for overlanding. Obviously any scales you chose to carry will do just fine.
Click here for my other fave overlanding kitchen equipment list
So there you go. If you get the chance to grab a bit of sourdough starter somewhere, why don’t you give it a try? If I can do it, pretty much anyone can! 😉
Note: any links to outside sources are NOT sponsored. They’re included purely because I think they’re good/useful additions to my overlanding kitchen. These people simply don’t recognise our huge global influential profile 😂